USD Torero Bookstore, San Diego, California

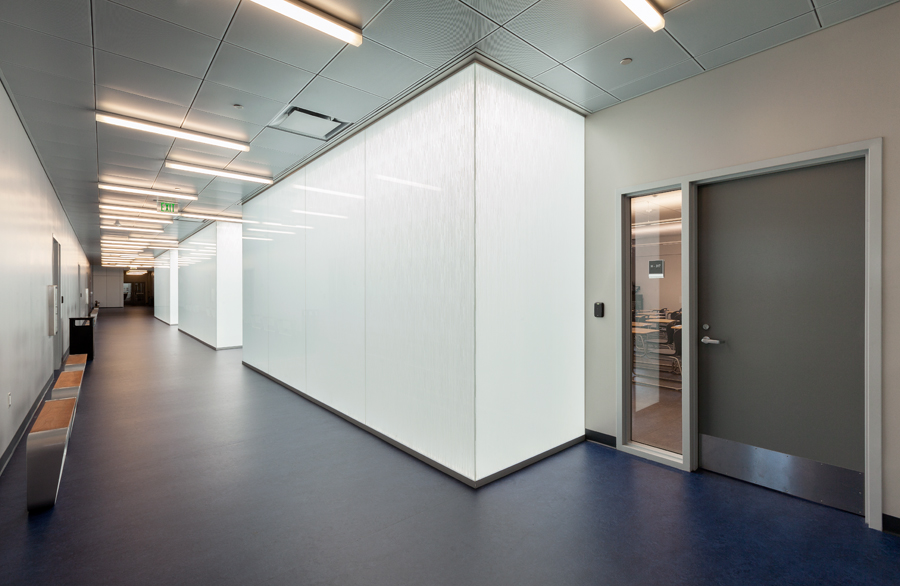
The brand new USD Torero Store opened on July 13, 2015. Digital walls and screens, interactive retail technology and an improved textbook system are new features of the 6,665-square-foot new campus store at the University of San Diego.

“We’ve created an exciting and futuristic space that will provide enhanced convenience, shopping options and services for our students, staff, alumni and visitors,” said Andre Mallie, Assistant Vice President for Auxiliary Services.

New technology components include; a 3-D printer, an AnaJet custom T-shirt printer, mobile check-out including Apple Pay, and a Virtual Mirror – the first on a college campus!

USD-Torero-Bookstore_EK_09.jpg
USD Torero Bookstore, University of San Diego

College View School, Glendale, California

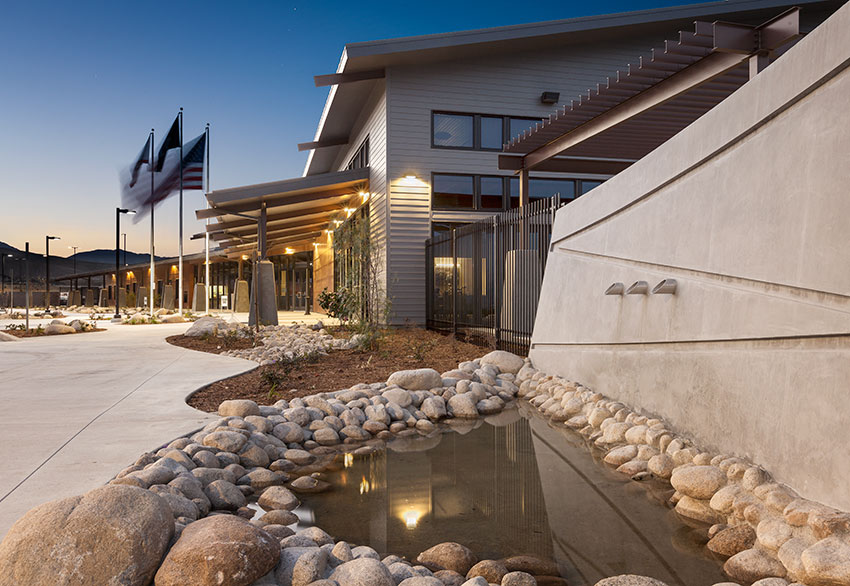
College View School, a public school in the Glendale Unified School District, was opened in 1977 to provide special education services to students in Glendale, Burbank, and La Cañada including specialized instruction in functional academics, life skills, communication, socialization, and motor skills. Their 8 classrooms serve students ranging in age from 3 to 22 with moderate to severe cognitive and physical disabilities. College View’s total number of students ranges between 70 and 96 students.

College-View-School_EK_013.jpg

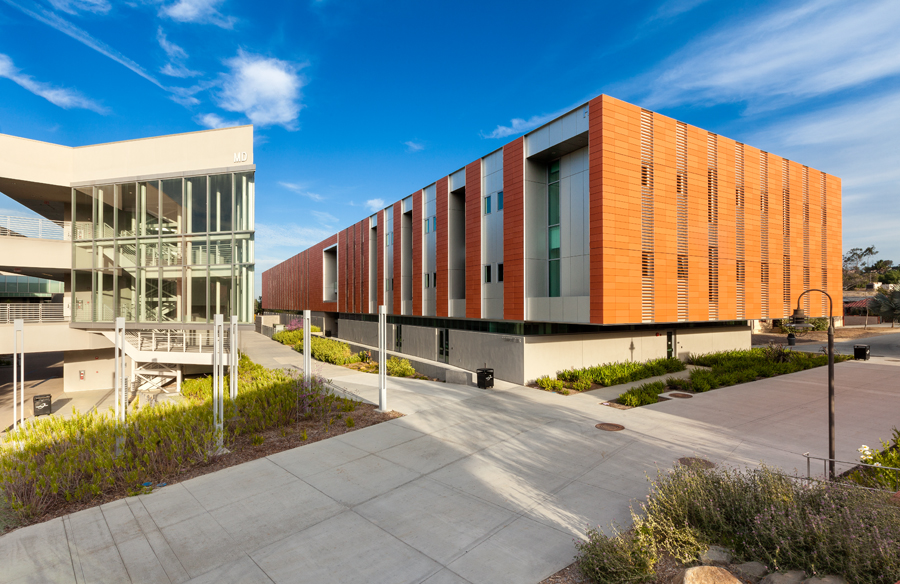
Zura Residence Hall

The hall is 140,900 gross square feet and originally opened in 1968. The building went $53,292,000 makeover. The revamped residence hall is designed to impact community and academic support, in addition to providing a comfortable place to call home.

Zura-Hall_EK_20.jpg

Famous Photographers

As often is the case, there isn’t a more widely discussed topic between photographers than about history’s most famous photographers. Artists tend to shy away from “best” comparisons but acknowledgement and appreciation for the giants in the industry is both entertaining and inspiring. When I think of the world’s most influential famous photographers I gravitate toward two remarkable figures from the past: Ansel Adams and Julius Shulman. In both I find a wealth of talent and vision and have throughout my career drawn on the techniques of both men in honing my skills and ascending to my current level of expertise. Ansel Adams

There isn’t a more preeminent figure among famous photographers in the history of the field than Ansel Adams. From dedicated professional photographers to casual photography aficionados to ordinary people, just about everyone has seen and admired the astounding portfolio of this world-renowned artist. Adams has achieved iconic status based on his signature black and white landscapes that seem to uniquely capture the environment in ways most other professional photographers struggle to duplicate. Ansel Adams often dominates the conversation of famous photographers due to his ability to affect the contemporary medium decades after his death in 1984.

While most people associate Adams with black and white landscape shots, Adams did work with both color prints as well as portraits and architecture. His affinity with black and white images was by design rather than a factor of the era of his most prolific work. Color, to Ansel Adams, could serve as a distraction from the meaning of the shot. To him, limiting the prints to black and white meant that he was free to use large format cameras to produce high resolution images with grandeur and sharpness that color often made more elusive to portray.

Julius Shulman

Shulman was an accomplished architectural photographer from whom I obviously draw a great deal of inspiration. Not only am I drawn to his style and favorite choice of subjects, his California roots allow me to occasionally imagine how he viewed the very same landscape and sky patterns that I capture in my own photos today while pondering how he’d interpret the scene for the best shot possible.

One particular way I aim to emulate the genius of Julius Schulman and honor him among the most famous photographers in history is in the way he appreciated and put to great use the natural landscape surrounding his architectural targets. You can quickly tell from my work that I value the opportunity to frame each structure with the ambient terrain and sky. The photographs I’m most proud of are those that accentuate the architecture by utilizing the natural light and surrounding features to give each image a character all its own. A point of great concern for me, and an emphasis that Julius Schulman paid particular attention to, are the ways in which an architectural work of art fits within the landscape it’s built. Capturing this relationship is important to telling the full story of the subject and gives depth to the scene that would otherwise be left untold and unexamined by focusing too heavily on the steel and stone of the buildings alone.

What is ISO?

What is ISO? One of the most frequent questions I get about taking quality photographs revolves around ISO. Experienced photographers know all about ISO and its importance in capturing high quality shots while newer shooters might not understand just how important this factor is in producing the best photos possible. To explain what is ISO and why it’s so important it’s best to first fully understand its definition and how it relates to your camera’s ability.

ISO Defined

A lot of photographers assume "ISO" is an acronym, and various online resources may even tell you that it stands for "International Standards Organization." But the truth is that it isn't an acronym and there is no organization by that name!

It’s a setting on your DSLR camera that regulates shutter speed and affects the quality of your images in ways we’ll discuss in just a moment. Your camera’s ISO setting is adjustable and can be switched from a base ISO to a higher range depending on your preference for a given shot. Adjusting the ISO setting will determine how the image sensor within your camera performs. Understanding how to choose an ISO setting will be critical to taking the best photographs.

ISO Settings

First, your camera’s image sensor is the most important feature of all. Image sensors are what determines the quality of the photographs you are able to take using your camera. The best way to evaluate a camera’s capability heavily surrounds the quality and capability of its image sensor. Keep in mind, the camera’s image sensor has one job: to capture the light necessary to produce the clearest image possible. Less capable image sensors will struggle to produce clean, crisp photographs while better image sensors will excel at producing high quality shots especially in low-light conditions. The critical trait of an image sensor is time. The amount of time necessary to gather enough light to produce a quality image is what separates an average image sensor from an extraordinary one. Similarly, setting your ISO properly can make the difference between getting the perfect shot or one that is awash with noise and motion blur.

Choosing an ISO Setting

ISO settings range from low (100-200) to quite high (1600 and above) and as you increase the ISO setting you increase the image sensor’s sensitivity to light.

So, which ISO setting is best for you?

The answer depends on a few conditions. Lower ISO settings reduce your ability to capture sharp images of moving objects or targets in low light without the use of a tripod. The reason is the sensor is less sensitive to the light available and therefore has to keep the shutter open for a relatively longer period of time in order to gather more light. The result can be a blurred image if the photographer or the subject of the shot moves. A higher ISO setting will allow for taking photos of moving objects but the quicker shutter speed doesn’t allow the sensor the advantage of gathering enough light for a decent photo. Of course, the quality of the image sensor in your camera will determine how much of a trade-off you will make in choosing among your ISO settings. Better image sensors will be able to both capture the necessary light for crisp low-light images while reducing motion blur if you or the subject are in motion.

Image Noise and ISO

Another crucial concern for setting your ISO to the optimal setting is image noise. Noise is a characteristic of an image that makes the photo appear grainy. That grainy look is due to the increased sensitivity to light of a higher ISO setting. The concern for image noise means that you cannot simply set your ISO to the highest setting and hope to capture the best photographs possible. The challenge is to use a DSLR with a quality image sensor and take photographs using an ISO setting that both captures enough light to produce a worthy image and reduces or eliminates the grainy or noisy result you hope to avoid. You can usually rest with choosing the base ISO for your camera. This setting will produce rich colors and sharp images in most controlled conditions. When shooting a subject that is fast-moving or in low light without the aid of flash, a higher ISO setting would help in producing a winning shot.